You ready to get your garden on? Let’s talk about a super aromatic herb that’s a true delight to grow and enjoy: Anise!
Anise: The Little Seed with Big Flavor!
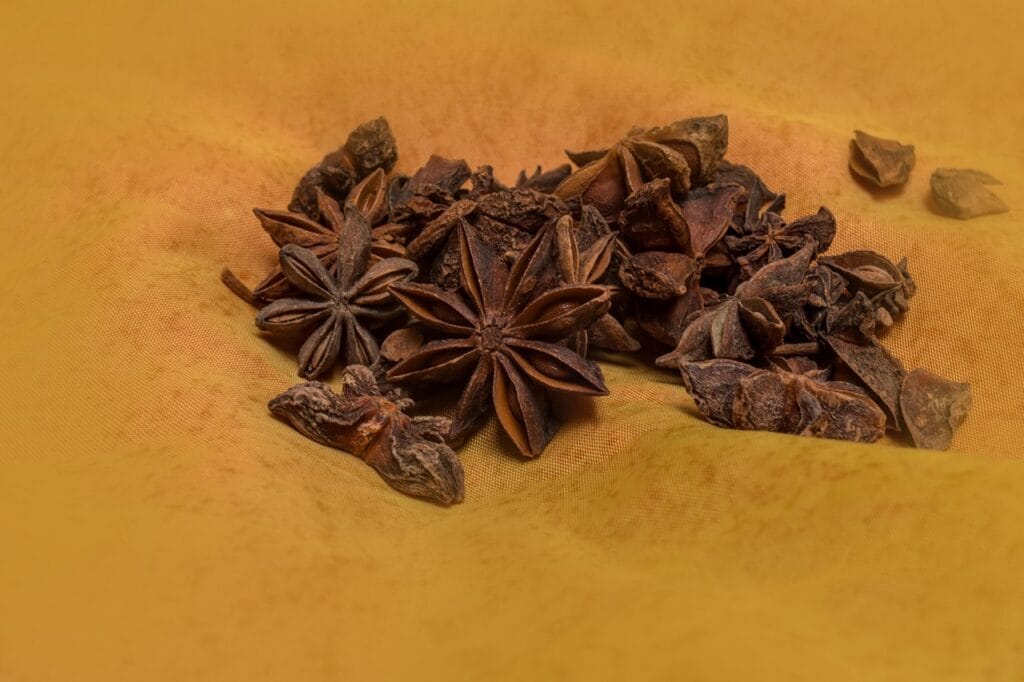
Anise, or Pimpinella anisum, is a charming little annual herb that brings a unique, sweet licorice-like flavor to your kitchen. Forget those store-bought seeds–imagine plucking them right from your garden! This lovely plant isn’t just about its famous seeds; its leaves and even its delicate white flowers are a treat for the senses. It’s a fantastic choice for both seasoned gardeners and those just dipping their toes into the wonderful world of herbs because it’s surprisingly straightforward to grow.
Even if you’re a total beginner, don’t you worry! Anise is pretty low-maintenance and will reward you with its delightful aroma and flavor. It’s perfect for adding that special something to your baking, savory dishes, and even homemade teas. Get ready to impress your friends and family with your homegrown goodness!
Why Grow Anise?
Growing anise is an absolute blast, and here’s why you’ll love having it in your garden:
- Distinctive Flavor: Anise offers that unmistakable sweet, warm, licorice-like taste that’s a hit in everything from cookies to sausages. It’s a flavor that stands out!
- Culinary Versatility: Not just for baking! Anise seeds, leaves, and even the young shoots can be used in a wide array of dishes, both sweet and savory.
- Fragrant Beauty: The delicate, white, umbrella-shaped flower clusters are absolutely gorgeous and attract beneficial pollinators like bees to your garden. Plus, the whole plant has a lovely, inviting aroma.
- Easy Peasy: Anise is quite forgiving and doesn’t demand a lot of fuss once it’s settled in. Perfect for busy gardeners or those just starting out.
- Health Benefits: Beyond its delicious flavor, anise has been traditionally used for various health purposes, including aiding digestion. It’s packed with good-for-you nutrients like iron and manganese, and even has some antioxidant properties!
How to Eat Anise
Get ready to sprinkle, bake, and brew with your homegrown anise!
- Seeds, Glorious Seeds! The most famous part of the anise plant! Dry the mature seeds and use them whole or ground in all sorts of recipes. Think Italian biscotti, German pfeffernüsse, or even a flavorful crust for meats.
- Fresh Leaves: Don’t let those pretty leaves go to waste! The young leaves have a milder anise flavor and are fantastic chopped into salads, added to cheese spreads, or used as a fresh garnish for soups and stews.
- Savory Surprises: Anise isn’t just for sweet treats. It pairs beautifully with pork, lamb, and even seafood. Try adding it to homemade sausages, tomato sauces, or certain curries for an unexpected depth of flavor.
- Warm Beverages: Brew a comforting anise tea by steeping crushed seeds in hot water. It’s not only delicious, but also traditionally known to help with digestion. It’s also a fantastic addition to mulled wine!
- Liqueur Lover’s Delight: Many famous liqueurs, like ouzo, sambuca, and pastis, owe their distinctive taste to anise. While making your own liqueur might be a bit more advanced, it’s a fun project for the adventurous!
Growing Anise
Alright, let’s get down to the nitty-gritty of getting your anise thriving!
Anise is an annual herb, meaning it completes its life cycle in one growing season. It loves warm weather and needs a good, long growing season to produce those precious seeds.
Sunlight: Anise is a sun worshipper! It absolutely thrives in full sun, meaning at least 6 to 8 hours of direct sunlight each day. Pick the brightest spot in your garden for these beauties.
Soil: Happy anise plants grow in well-drained soil that’s rich in organic matter. They prefer a slightly acidic to neutral pH, somewhere between 6.0 and 7.5. Before planting, mix in some lovely compost or well-rotted manure to give your soil a boost. Good drainage is key—anise doesn’t like soggy feet!
Planting:
You can sow anise seeds directly outdoors after all danger of frost has passed, and the soil has warmed up. This is usually when temperatures are consistently between 60°F and 90°F. In areas with shorter growing seasons, you can get a head start by sowing seeds indoors in biodegradable pots about 6 to 8 weeks before your last frost date. This way, you won’t disturb their roots when transplanting!
When planting, sow the small seeds about 1/4 to 1/2 inch deep. If you’re sowing directly, space them about 6 to 10 inches apart in rows that are 18 to 24 inches apart. If you’re transplanting seedlings, give them a bit more room, around 12 to 18 inches between plants. Anise seeds can be a little slow to germinate, so be patient–it might take a few weeks!
Watering: Anise likes consistent moisture, especially when it’s young and just getting started. Keep the soil moist, but not waterlogged. Once your plants are established (around 8 inches tall), you can reduce watering a bit, letting the top inch or two of soil dry out between waterings. Generally, about 1 inch of water per week is a good guideline, adjusting for rainfall. Anise can tolerate some dry spells once mature, but consistent moisture will lead to better seed production.
Fertilizing: If you’ve enriched your soil with compost before planting, your anise might not need much extra fertilizer. However, if your soil is on the leaner side, a balanced, all-purpose organic fertilizer applied sparingly during the growing season can give them a little boost. Just go easy on the nitrogen, as too much can encourage leafy growth at the expense of those wonderful seeds. A little fertilizer before they start flowering, usually around June or July, can be helpful.
Support: Anise plants can grow up to 2 or 3 feet tall on relatively slender stems. In windy areas, they might appreciate a little support. A simple stake can help keep them upright and prevent them from toppling over, especially when they’re laden with developing seeds.
Tips and Tricks for Success!
Want your anise to be the star of the garden? Here are some friendly tips:
- Weed Warfare: Anise seedlings aren’t super competitive, so keep an eye out for weeds and gently remove them. This gives your anise all the resources it needs to grow big and strong.
- Patience, Young Grasshopper: As mentioned, anise can take its sweet time germinating. Don’t despair if you don’t see sprouts right away. Keep the soil consistently moist and warm, and they’ll get there!
- Harvesting Leaves: You don’t have to wait for the seeds! You can snip off some fresh leaves throughout the summer for culinary use. Just don’t take too many from one plant, especially if you’re hoping for a good seed harvest.
- Seed Harvest Know-How: The magic happens when the flowers fade and the seeds start to develop. The seeds are ready to harvest when they turn from greenish-brown to a greyish-brown and the entire plant stalk looks dry. You can cut the entire seed head or even the whole plant and hang it upside down in a paper bag in a cool, dry, dark place. As the seeds dry, they’ll drop into the bag! Then just sift out any bits of stem. Store your dried seeds in an airtight container in a cool, dark place for up to 3-4 years.
- Pest Patrol: Anise is generally pretty resistant to pests, which is a win! Keep an eye out for common garden pests, but often, healthy plants can shrug them off.
Anise Cuisine: A Taste of Sweetness
Anise is a truly versatile herb that can dance between sweet and savory dishes with ease. Its warm, slightly pungent, and distinctly sweet flavor adds a touch of sophistication to whatever you’re cooking up.
Here’s a simple, classic recipe to get you started with your fresh or dried anise seeds:
Anise Seed Biscotti
These crunchy, delightful cookies are perfect for dipping in coffee or tea, and the anise flavor truly shines!
Ingredients:
- 1/2 cup (1 stick) unsalted butter, softened
- 1 cup granulated sugar
- 2 large eggs
- 1 teaspoon vanilla extract
- 2 cups all-purpose flour
- 1 tablespoon anise seeds (whole or lightly crushed)
- 1 1/2 teaspoons baking powder
- 1/4 teaspoon salt
Instructions:
- Preheat & Prep: Preheat your oven to 350°F (175°C). Line a baking sheet with parchment paper.
- Cream It Up: In a large bowl, cream together the softened butter and granulated sugar until light and fluffy.
- Eggs & Vanilla: Beat in the eggs one at a time, then stir in the vanilla extract.
- Dry Mix: In a separate bowl, whisk together the flour, anise seeds, baking powder, and salt.
- Combine: Gradually add the dry ingredients to the wet ingredients, mixing until just combined. Don’t over-mix! The dough will be stiff.
- Shape Loaves: Divide the dough in half. On your prepared baking sheet, shape each half into a log about 10-12 inches long and 2-3 inches wide. Leave space between them as they will spread a little.
- First Bake: Bake for 25-30 minutes, or until the logs are lightly golden brown and firm to the touch.
- Cool & Slice: Remove from the oven and let the logs cool on the baking sheet for about 10-15 minutes. Reduce the oven temperature to 300°F (150°C).
- Second Bake: Carefully transfer the cooled logs to a cutting board. Using a serrated knife, slice each log diagonally into 1/2-inch thick slices.
- Toast: Lay the slices cut-side down back on the baking sheet. Bake for another 15-20 minutes, flipping halfway through, until the biscotti are golden brown and crisp.
- Cool & Enjoy: Let the biscotti cool completely on a wire rack. Store in an airtight container for up to two weeks.
Summary and Conclusion
See? Growing anise is not only doable, it’s downright delightful! This charming annual herb, with its distinctive licorice-like flavor, delicate blooms, and aromatic leaves, is a fantastic addition to any garden, big or small. From its easy-going nature to its incredible versatility in the kitchen, anise offers so much joy and flavor.
Imagine the satisfaction of baking up a batch of those delicious biscotti with seeds you grew yourself, or sprinkling fresh anise leaves over a homemade salad. It’s a wonderful way to connect with your food and add a little bit of homegrown magic to your culinary adventures. So go ahead, give anise a try! Your taste buds and your garden will thank you for it.
Ready to get your hands dirty and bring that sweet licorice aroma to your backyard?
Disclaimer: This post is for informational purposes only and should not be construed as health, wellness or nutrition advice. Please see our full disclaimers here.
« Back to Glossary Index